Sunday, December 31, 2006

Leaky O-rings...


In my first little tank I used soft rubber o-rings. These will not work for LOX. So I've spent the last two days trying to get PTFE or FEP encapsulated o-rings to not leak. I've been trying to build a 3" tank to test my PET tank ideas. The picture on the left is the top end of the tank after the first winding step to reinforce the area around the o-ring before starting to wind the longitudinal fibers.
The next picture is the tank with the longitudinal windings in place, about to be filled with water before doing the radial winding. I did not get past this point because....

The third picture shows water leaking around the seal.
Having a light high pressure LOX tank would greatly simplify some of the project, but it's not worth spending a whole lot more time on. I'm going to order some more o-rings from McMaster carr and try one more time , but if I can't build light LOX tanks I'll just use aluminum irrigation pipe and work to get something flying. I have to keep reminding myself that perfect is the enemy of good enough.

Monday, December 25, 2006

Gone for a few days...

I spent the days before Christmas working on a 3" version of my Tank. I machined two spherical end caps and they looked good up to the point I CNCed the lacing posts . I ruined one of the caps and need to make another.

I did to some ln2 tests with the end cap. With the PET tube filled with Ln2 it does not leak or break, and the PETG still seems flexible.

You won't here from me much for the rest of the week as this is my 20th wedding anniversary and we are going away for a few days.

Monday, December 18, 2006

An Update...

Site Prep:
Last Wedensday I went out to the FAR site to help pour the big test stand. 5 People poured 145,000 lbs of concrete in about 6 hours. It looks like it all went well. Many thnaks to my wife who came out and helped finish the concrete. Jerry Irvine took lots of pictures if I get a picture of her with the trowel in hand I'll post it. This project would not be possible without her support.

Valves:
I ordered some more three piece valves from McMastercarr I'm going to make up the following valves and test them: Drill Motor Drive, Industrial Servo Drive, and BaneBot motor drive. I will LN2 test these and the KZCO valve this weekend! I have the week after Christmas off so I have high hopes of getting lots done.

Tanks:
I was told that the florescent light tubes are Polycarbonate, not PET, so I ordered some 3"x36" PETG tubes from Uline packaging. They assured me that the tubes are PETG, alas they look just like the florescent tube covers just bigger. If anyone has a bullet proof way to identify PET please let me know. PET Soda bottles shrink when heated, these tubes do not seem to do so.
In any case I'm making new spherical tank end caps for the 3" tubes. Its amazing how much
aluminum chips can come from a 3" long 3" diameter block of aluminum....

Testing..
My last tank leaked at the fittings. So I spent Most of the day Sunday making NPTF pipe threads on the lathe and testing them to see if they are pressure tight. Today my new hand pumped hydrostatic tester arrived from McMaster Carr. (Thanks Xcor for the tip)
I hooked it up bled most of the air out of my fitting and tested my fitting to 3000 PSI the good news it held... The bad news in my hurry to test my handy work I did not bleed the air out of the hose and it did not dawn on me that the hydro tester has no bleed valve, so now its sitting at 2700 PSI and I'm afraid to crack the fittings. I'll let it sit for a day and hopefully it will bleed down. When I was working on my instrument pilots license, any time I had a spare moment to think me my flight instructor would ask what are you working on now....the proper answer at all times was the next thing. Making sure that you know what the next thing you are going to do no matter the outcome is good advice for all aspects of life.

Monday, December 11, 2006

Back to Valves

My son spent the better part of Sunday machining an adapter to adapt an astroflight brush less motor with 19:1 gearbox to one of the right angle drill mechanics. I tested it this evening and its very disappointing. The sensorless brushless motor does not start well under load. Maston had speed problems with their brushless valve drivers, and I suspect it was because the driver uses back emf to sense the position of the rotor and startup must be slow to get synced up.

I ordered a couple of KZCO valves like the Armadillo team uses and the arrived today. With the top case off of the motor and the cable removed it weighs 1528 grams. With a bit of careful trimming I think I could get it to 1300 grams. My ready to go valve assembly weighs about 1100 grams. My valve is faster, lighter cheaper and and more powerful.

I made a video of the valve operating and just uploaded it to you tube.

Sunday, December 10, 2006

Tank pressure test success...

I did not have a small enough threading tool or tap to make the threads in the tank end cap. When I got a pipe tap I broke the tank when twisting it. So I'm doing it all again now that the fittings are threaded.... This give me the opportunity to take more pictures and weigh things....
The end caps:


The end cap weigh 40 gm for the blank end and 61 gm for the end with the fitting and pipe nipple.
The aluminum end caps weigh more than the whole rest of the tank. While the origional short tank had a mass ratio of 3.5. An 8 foot version constructed identically would have a MR of 6.7 .
To put this in persepctive, an aluminum sphere with 31000 psi UTS will have a MR of around 6.4. After I threaded the fittings I built a new tank that was about 18 inches long to try and pressure test. I took it by my friends at FloMetrics and we pressure tested it to 1500 psi. It did not fail at 1500 psi, that was just the limit of the water pump we were using to presurize it. The NPT threads around the pipe nipple leaked, but the tank held at 1500 PSI! Since I had used the pipe nipple as a winding post I could not tighten it to make the leak go away. I've been told that aluminum NPT pipe threads leak badly, but some things you need to learn yourself. If anyone has recommendations on a type of pipe fitting that can be used in aluminum and won't leak please let me know. Next time I get a dewar of LN2 I'm going to hook a pressure transducer to the tank and burst it at low temperature. I'll keep everyone posted.
I may also try fabricating some larger PET tubes and building a 4 or 6" tank.

A picture of the whole tank:I did not use any glue on the main part of the tank I only used "gorrilia" glue on the ends to secure the windings.

Saturday, December 09, 2006

A test of pop bottles and kite string.


I spent the day fabricating a test tank. I machined some aluminum oring sealed end caps to go on a short length of florescent light tube cover. (Made out of PET or the same thing as a 2 liter soda bottle. )The aluminum end caps were machined with pins on the ends to hold the longitudinal lacing.

The tank ended up heavy with a MR of 3.5 using water, but its small and has a theoretical bust pressure of several thousand pounds. It was not meant to be a flight weight tank as it is short and should be much stronger than needed. Its more of a test piece to see if I can get anywhere near the predicted performance out of spectra wrapped tanks. I suspect that the failure mode when I pressure test it will be to blow out the o-ring seals.


On the left is a picture of the finished tank with a piece of unwrapped light tube next to it.
If the pressure test goes well, I will Ln2 pressure test to destruction. If both of those go well I'll try fabricating a larger more flight weight tank using the same concepts.


I'd taken some project pictures while working on things before I started blogging....
I'll post some of these from time to time...This is a picture of a 600lb Lox ethanol motor injector plate I fabricatedit last summer. We never fired it because we had valve problems and probably won't fire this one until we have more things to test. (Such as an igniter.)


Sunday, December 03, 2006

Another weekend gone...

Saturday I spent the day at the FAR//MTA site. I was working on some forms for another storage container at FAR. I'm on my knees digging in the desert sand with my hands to make room for the form , and I realized that building rockets this way was a lot like grilling a hamburger where the first step was to plant the grass to feed the cow....

The RRS was having its Christmas party the same day and the RRS/MTA had a few interesting things going on. I'm not all that taken with the unguided HPR soldis and hybrids they remind me of artillery. I did find the large 4000 lb thrust Lox methanol that was test fired interesting.
As Keven said "That was a manly sound" If you have ever heard a liquid rocket fired it is a sound that you will never forget. No recording I've ever heard did it justice.

A number of bits and pieces arrived this week. I got the solenoid valves I ordered from Predyne I got 6 valves in two different sizes these will be used for building an igniter and doing purges. Unlike Snaptite, predyne will sell in small quantities to normal people. So I can get more valves when I need them.


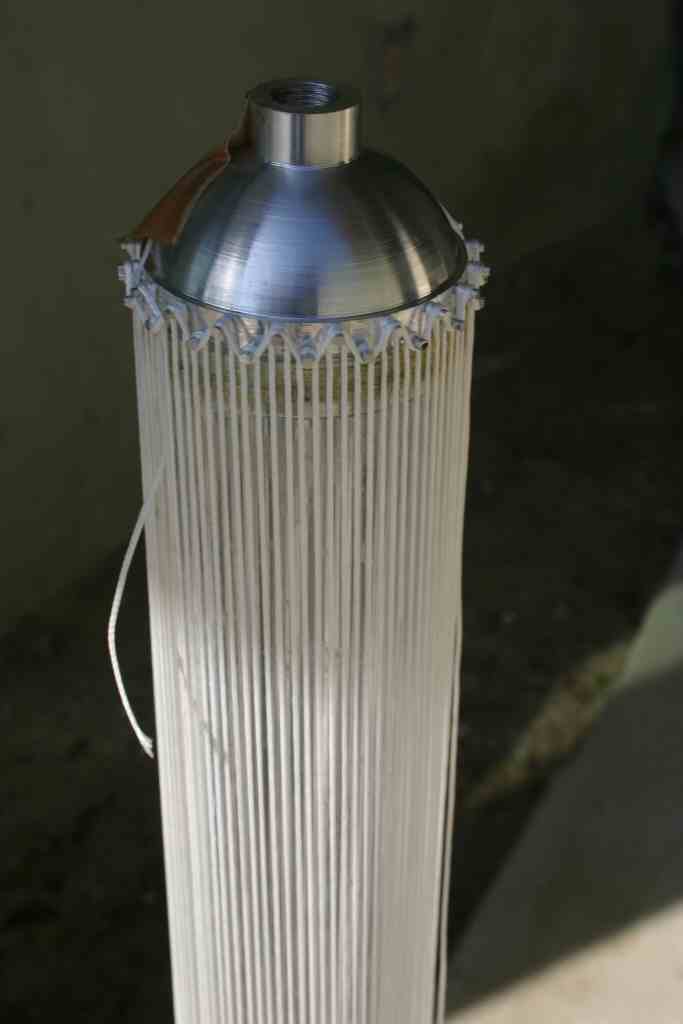
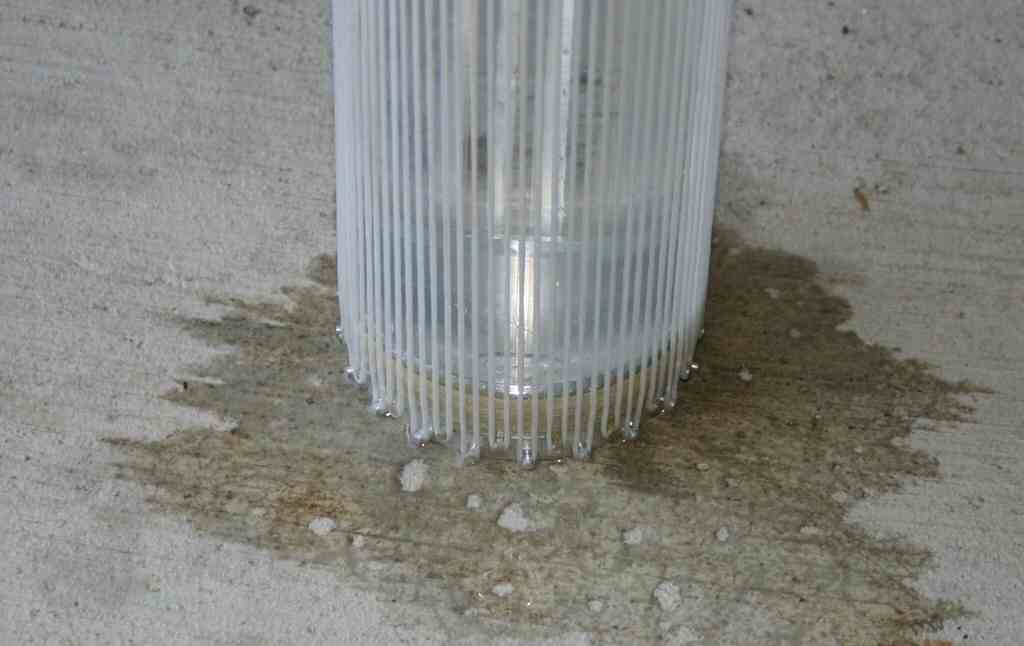
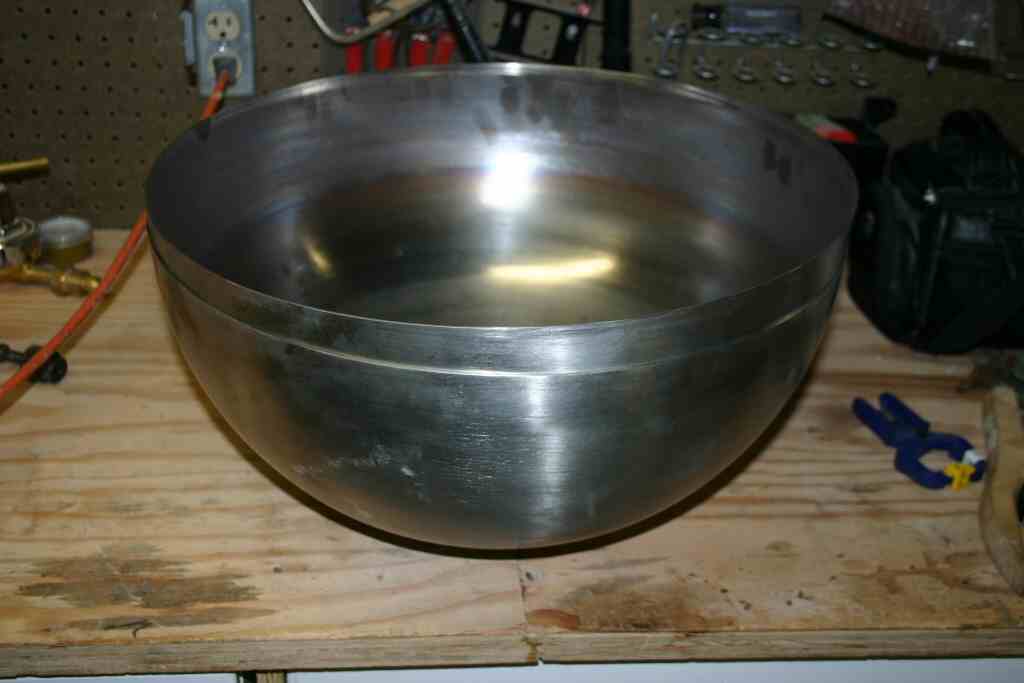
I also received my stainless steel Hemispheres from AMS industries to build some spherical stainless tanks.These are 18" diameter 316 Stainless. the thinist point is about 0.064 thick.
My son has finals next week, when that is done He will weld them up and we will hydro test them. I plan to use the same strap technique that Armadillo used to align them. (Thanks John for being so open and public!)


Lastly I spent Sunday working on my personal skills. As I indicated in my post on the CNC myth it takes skills to build things using CNC machines. I've spent about 18 months working with small CNC mills, but I have almost no time using a CNC lathe. So I spent the day with some scarp aluminum bar stock turning things to diameters and then making threads.
the straight threads took my 5 tries to get right... After I had all the bugs in that worked out
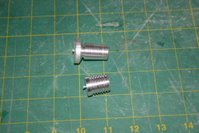
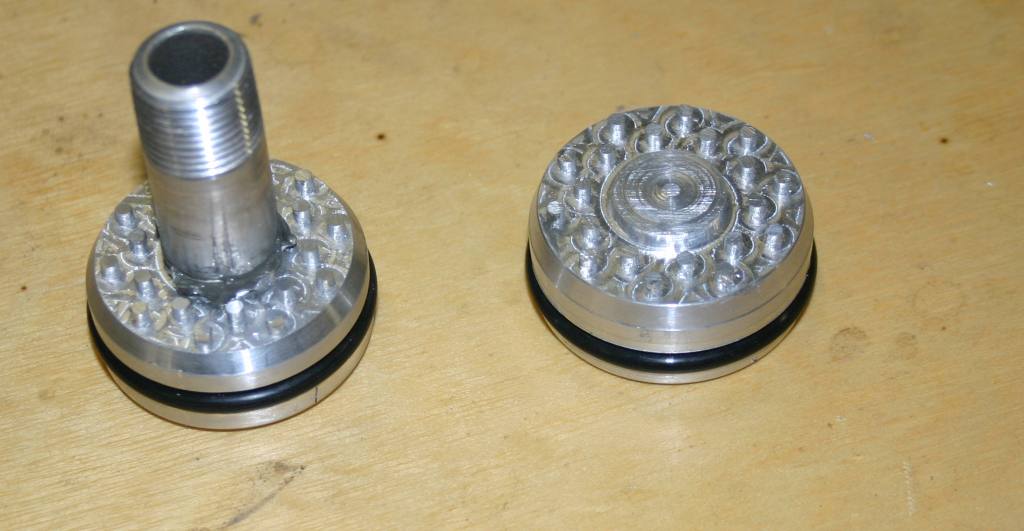
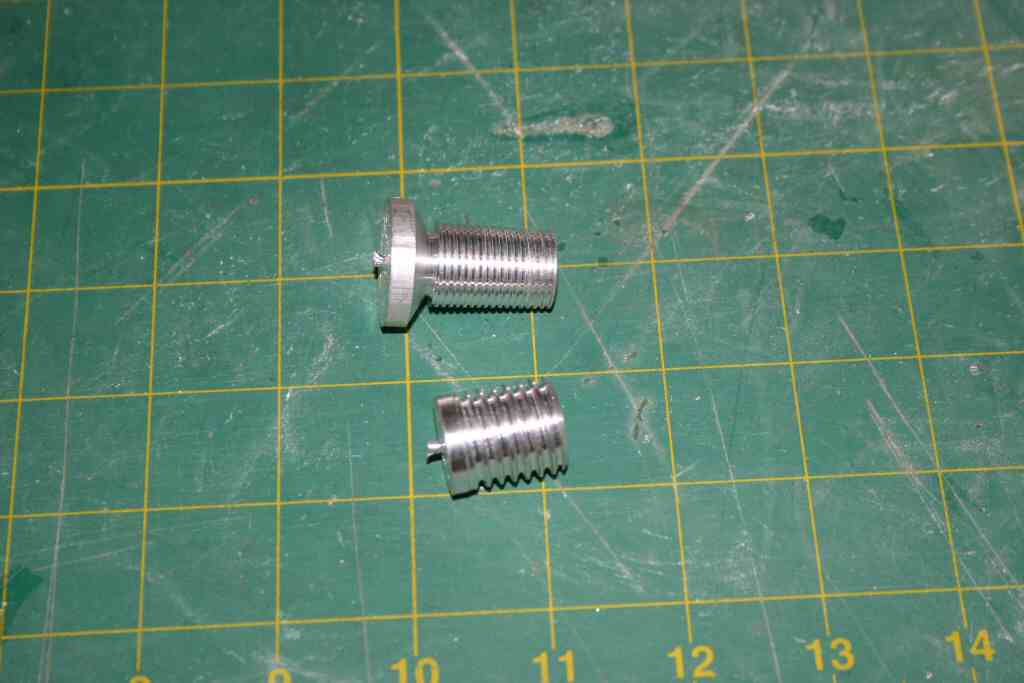
I made some tapered NPT pipe threads. I got that right on the first try. It does not look like much but the results:

Straight thread on the bottom and tapered pipe thread on the top.
The pipe thread is longer than it needs to be, but the taper is correct.